Table Of Content

Using drawing ink, begin filling the shadow areas of your house. You can also continue using your fine liners, markers, or any medium of your choice. Working with the ink here should be fun and experimental. Enjoy the process of working free-hand across your planning. Follow the lines you have drawn with a paintbrush and fill them with volume using the ink as if it is paint. This will form the solid outline of the roof for your house drawing.
Did this article help you?
This cozy cottage is fit for a family or a fairy. You can use straight and curved lines to draw the building. In this drawing, you can see the rectangle-shaped bricks peeking out from behind the crackling plaster and paint.
Step 7: Add detail to the doors and windows
The illustration below may look confusing, because we're so close to the horizon line that the guide lines are almost horizontal. Look at the height of the outline above the windows, the windows, and the lower part of the wall. A log cabin is a simple and classic type of house. Rectangles with rounded ends make up the stacked log walls. You will see the rectangle pattern of bricks on the chimney and “U” shaped shingles on the roof.
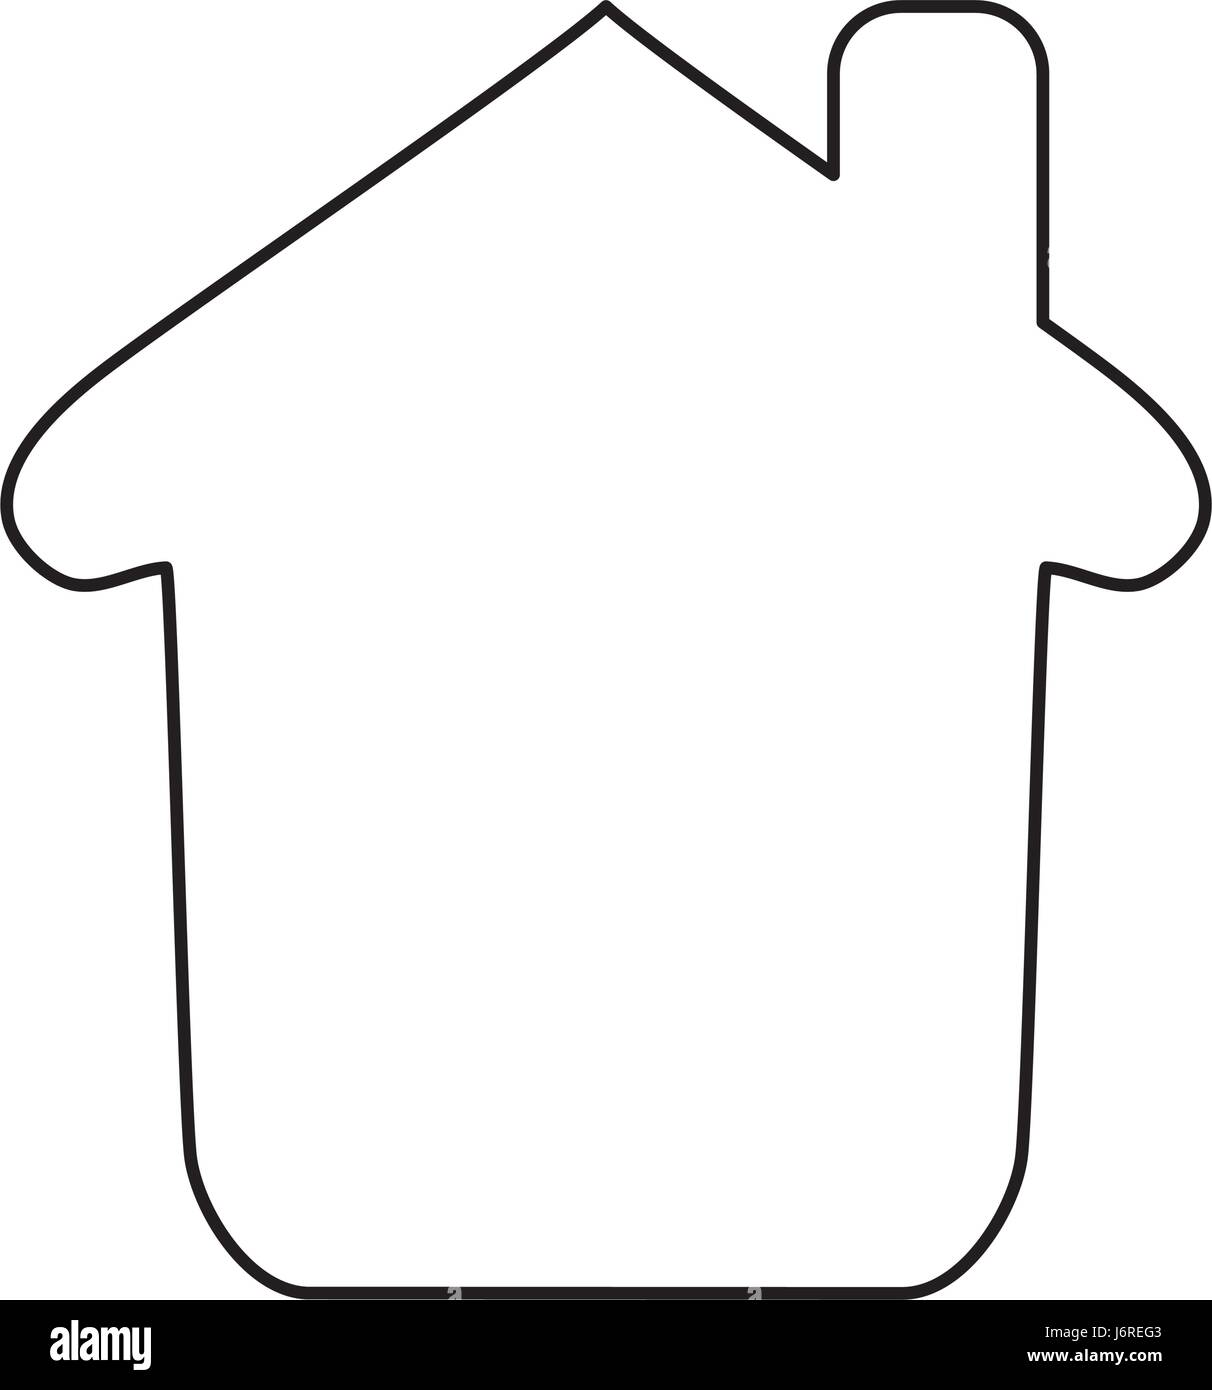
Outline The Shape Of The House
Ian Walsh is the creator and author of improvedrawing.com and an Art teacher based in Merseyside in the United Kingdom. He holds a BA in Fine Art and a PGCE in teaching Art and Design. He has been teaching Art for over 24 Years in different parts of the UK.
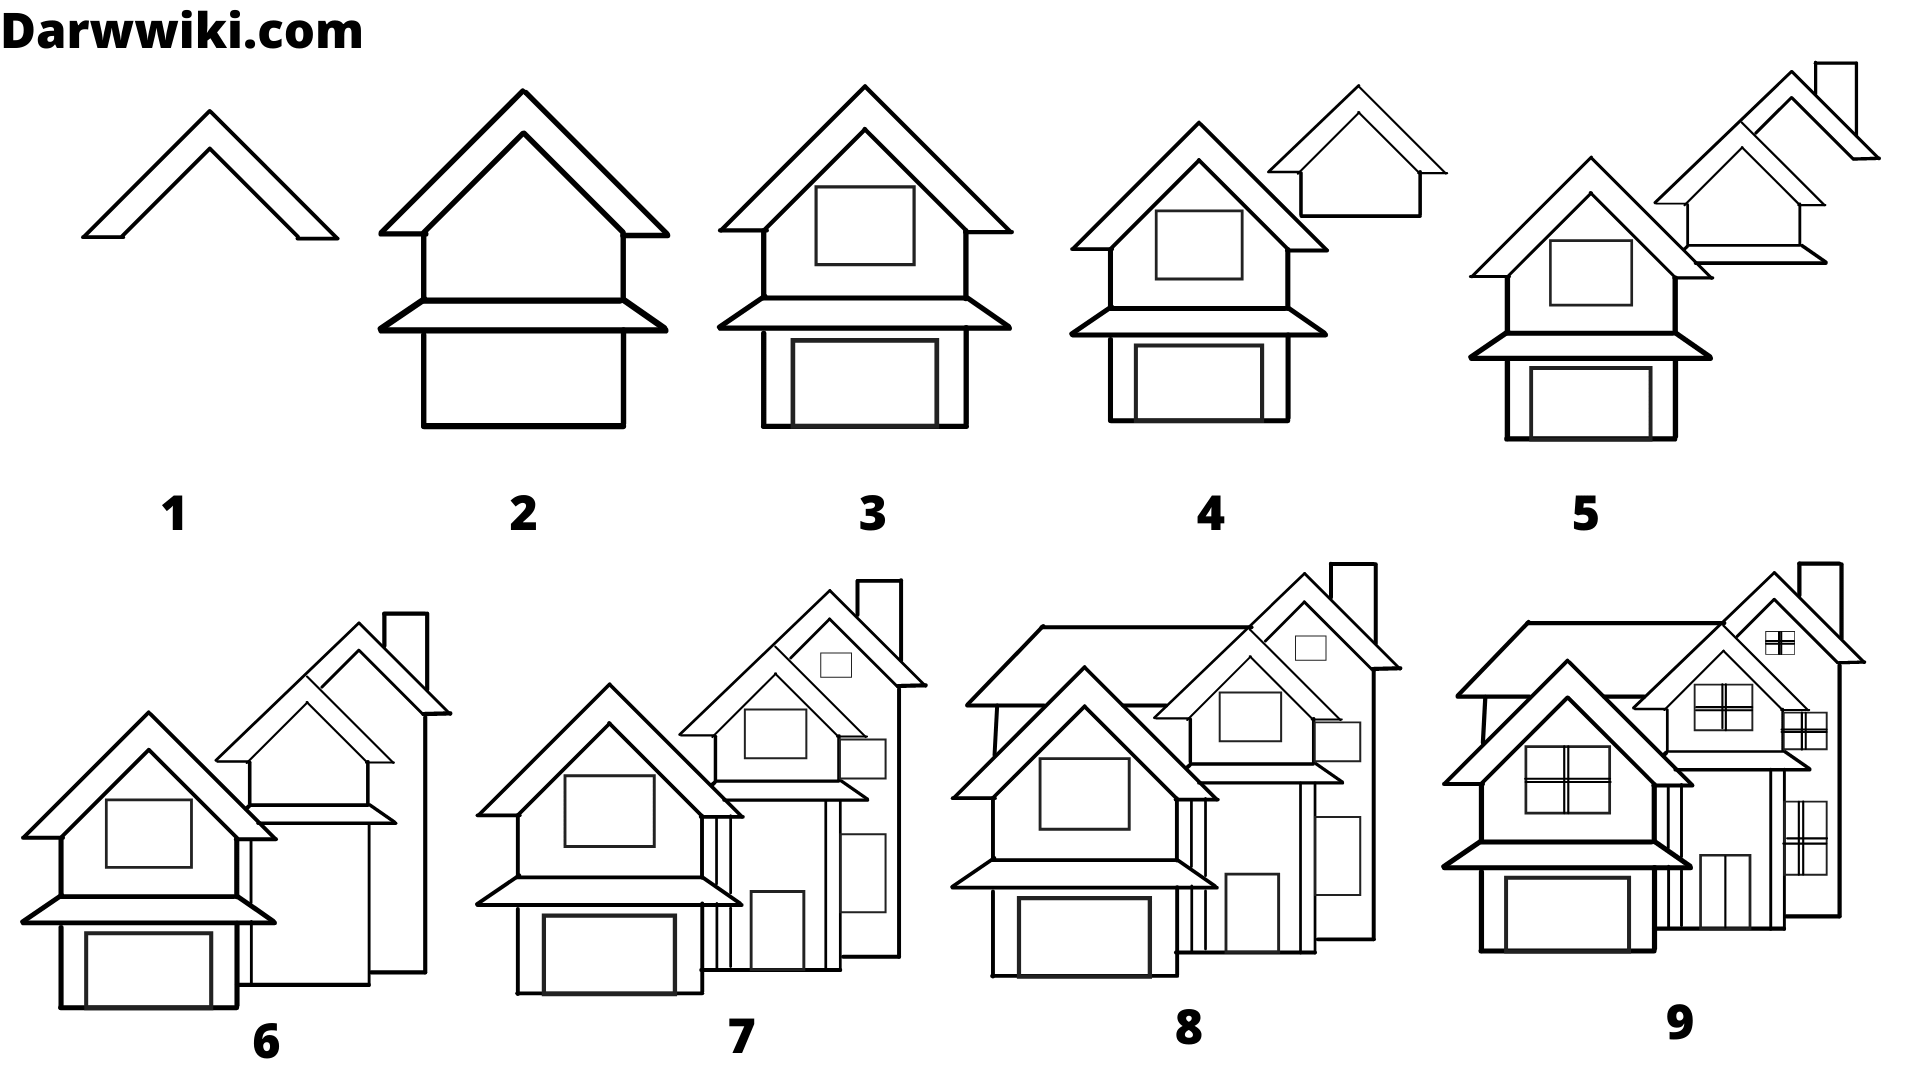
By following the simple steps, you too can easily draw a perfect Simple House. Learn how to draw a great looking Simple House with easy, step-by-step drawing instructions, and video tutorial. We need more guide lines in that inner block of the roof. Now our job is to create some easily replicable guide lines.
Omaze Million Pound House Draw: £3.5M Gleneagles house for grabs - Glasgow Times
Omaze Million Pound House Draw: £3.5M Gleneagles house for grabs.
Posted: Fri, 22 Sep 2023 07:00:00 GMT [source]
You can use a pen or marker to draw each of the following, but we recommend using a pencil with a good eraser. Often, it helps to make guide lines that you erase later in the drawing process. You will learn more about this as you follow the step-by-step instructions below.
The first step is quite flat, so mark it first before adding the other steps. Divide the inner side of the wall into thirds—this should be enough to create four steps. These walls will be as long as the roof over them, but not as wide. Use an additional guide line to exclude the part of the roof from the width of the porch area. We know exactly where the roofs starts, so we can easily draw their tops. Make the whole window outline protrude in order to make measurements easier.
You can gain the skills to design your own dream house when you start with this simple tutorial. Draw a narrow horizontal rectangle on each side of the house. Draw another narrow rectangle within the one drawn in the previous step.
Step 5
Begin by drawing the basic outline of your house. The simplest way to approach drawing any subject is to reduce the shapes and proportions of a subject down to its basic shapes. Enjoy the process of learning how to draw a house with a porch.
Figure drawing is a skill you can master at any age. It's about training the eye to observe and interpret the shape of the human body. As an artist, you can see every form of curve and line.... The simplest method to approach the interior view of a house is using the basic rules of the one-point perspective. The central doorway of your home will be drawn as a larger rectangular shape. Draw this lightly and faintly, and consider the style of the door you want to create.
Applying the laws of fundamental perspective and foreshortening can be drawn from a superficial angle. If all of the main features of your drawing are in place, you can progress on drawing additional optional aspects of your house. This will enable you to split the basic outline shape of the house into three distinct levels. The following step will provide a simple Guide on how to progress with your drawing.
Add the final details of ink to your house drawing. Erase all pencil lines throughout the whole drawing. You can leave this step out if you are using pencils for your drawing of a house.
We now have enough guide lines to outline the windows and door. Divide each third into thirds to create guide lines for this. We need more guide lines to place the elements on the wall properly. Because this is a building, we can expect the elements follow some kind of proportion. Once we discover it, we can use it in our drawing. In this article, we will start with a new piece of paper and discover how to draw a House in 6 illustrative steps.
The pdf guide even contains a coloring-book-like page with just the line art. It is wonderful for very young children requiring extra guidance and are looking to fill in a House. A chair is a very easy piece of furniture to design. Fill in the windows and doors with details of the molding and window panes. Afterward, sketch a trapezoidal shape above the second rectangle, creating the rest of the roof. Next, add a rectangle to the base of the triangle.


No comments:
Post a Comment